Title: Wiki.js, Termux και Android.
Alternative Title: Wiki.js, Termux, and Android.
Creator: @nikaskonstantinos
Language: el
Date Issued: 23/06/2021
Publisher: Linux User Forum - Το forum των Ελλήνων χρηστών Linux - https://linux-user.gr/
Description: Installation of Wiki.js, “the most powerful and
extensible open source Wiki software”, on Android devices via Termux.
Category: Linux Software
Tags: howto, android, termux, wikijs, terminal
To Wiki.js είναι ένα πανίσχυρο και καλαίσθητο wiki λογισμικό για το Linux.
Η εγκατάσταση του, ωστόσο μπορεί να γίνει και σε Android συσκευές, μέσω της τελευταίας έκδοσης της εφαρμογής Termux, από το F-Droid, όπως θα δούμε παρακάτω.
Την πρώτη φορά που εγκαθιστούμε την εφαρμογή Termux, πρέπει να εκτελέσουμε τις εντολές:
pkg updatepkg upgradetermux-setup-storageΕγκατάσταση:
Πηγή: https://docs.requarks.io/install/linux
Ανοίγουμε την εφαρμογή Termux και αντιγράφουμε μία, μία τις παρακάτω εντολές και το περιεχόμενο του αρχείου config.yml.
Ως βάση δεδομένων χρησιμοποιήθηκε η Sqlite3.
pkg updatepkg install git curl wget nodejs-ltswget https://github.com/Requarks/wiki/releases/download/2.5.201/wiki-js.tar.gzmkdir wikitar xzf wiki-js.tar.gz -C ./wikicp config.sample.yml config.ymlnano config.ymlκαι έπειτα μέσα στο αρχείο config.yml, αντιγράφουμε το παρακάτω περιεχόμενο:
#######################################################################
# Wiki.js - CONFIGURATION                                             #
#######################################################################
# Full documentation + examples:
# https://docs.requarks.io/install

# ---------------------------------------------------------------------
# Port the server should listen to
# ---------------------------------------------------------------------

port: 3000

# ---------------------------------------------------------------------
# Database
# ---------------------------------------------------------------------
# Supported Database Engines:
# - postgres = PostgreSQL 9.5 or later
# - mysql = MySQL 8.0 or later (5.7.8 partially supported, refer to docs)
# - mariadb = MariaDB 10.2.7 or later
# - mssql = MS SQL Server 2012 or later
# - sqlite = SQLite 3.9 or later

#db:
#  type: postgres

  # PostgreSQL / MySQL / MariaDB / MS SQL Server only:
#  host: localhost
#  port: 5432
#  user: wikijs
#  pass: wikijsrocks
#  db: wiki
#  ssl: false

  # Optional - PostgreSQL / MySQL / MariaDB only:
  # -> Uncomment lines you need below and set `auto` to false
  # -> Full list of accepted options: https://nodejs.org/api/tls.html#tls_tls_createsecurecontext_options
 # sslOptions:
  #  auto: true
    # rejectUnauthorized: false
    # ca: path/to/ca.crt
    # cert: path/to/cert.crt
    # key: path/to/key.pem
    # pfx: path/to/cert.pfx
    # passphrase: xyz123

  # SQLite only:
 # storage: path/to/database.sqlite
storage: /data/data/com.termux/files/home/wiki/node_modules/sqlite3
#######################################################################
# ADVANCED OPTIONS                                                    #
#######################################################################
# Do not change unless you know what you are doing!

# ---------------------------------------------------------------------
# SSL/TLS Settings
# ---------------------------------------------------------------------
# Consider using a reverse proxy (e.g. nginx) if you require more
# advanced options than those provided below.

ssl:
   enabled: false
   port: 3443

  # Provider to use, possible values: custom, letsencrypt
  #provider: custom

  # ++++++ For custom only ++++++
  # Certificate format, either 'pem' or 'pfx':
  #format: pem
  # Using PEM format:
  #key: path/to/key.pem
  #cert: path/to/cert.pem
  # Using PFX format:
  #pfx: path/to/cert.pfx
  # Passphrase when using encrypted PEM / PFX keys (default: null):
  #passphrase: null
  # Diffie Hellman parameters, with key length being greater or equal
  # to 1024 bits (default: null):
  #dhparam: null

  # ++++++ For letsencrypt only ++++++
 # domain: wiki.yourdomain.com
 # subscriberEmail: admin@example.com

# ---------------------------------------------------------------------
# Database Pool Options
# ---------------------------------------------------------------------
# Refer to https://github.com/vincit/tarn.js for all possible options

pool:
   min: 2
   max: 10

# ---------------------------------------------------------------------
# IP address the server should listen to
# ---------------------------------------------------------------------
# Leave 0.0.0.0 for all interfaces

bindIP: 0.0.0.0

# ---------------------------------------------------------------------
# Log Level
# ---------------------------------------------------------------------
# Possible values: error, warn, info (default), verbose, debug, silly

logLevel: info

# ---------------------------------------------------------------------
# Offline Mode
# ---------------------------------------------------------------------
# If your server cannot access the internet. Set to true and manually
# download the offline files for sideloading.

offline: false

# ---------------------------------------------------------------------
# High-Availability
# ---------------------------------------------------------------------
# Set to true if you have multiple concurrent instances running off the
# same DB (e.g. Kubernetes pods / load balanced instances). Leave false
# otherwise. You MUST be using PostgreSQL to use this feature.

ha: false

# ---------------------------------------------------------------------
# Data Path
# ---------------------------------------------------------------------
# Writeable data path used for cache and temporary user uploads.
dataPath: ./data


db:
   type: sqlite
   storage: db.sqlite
Αποθηκεύουμε πληκτρολογώντας διαδοχικά:
ctrl και o, έπειτα το πλήκτρο enter και τέλος ctrl και x, στον επεξεργαστή nano.
Τέλος:
npm rebuild sqlite3node serverΧρήση:
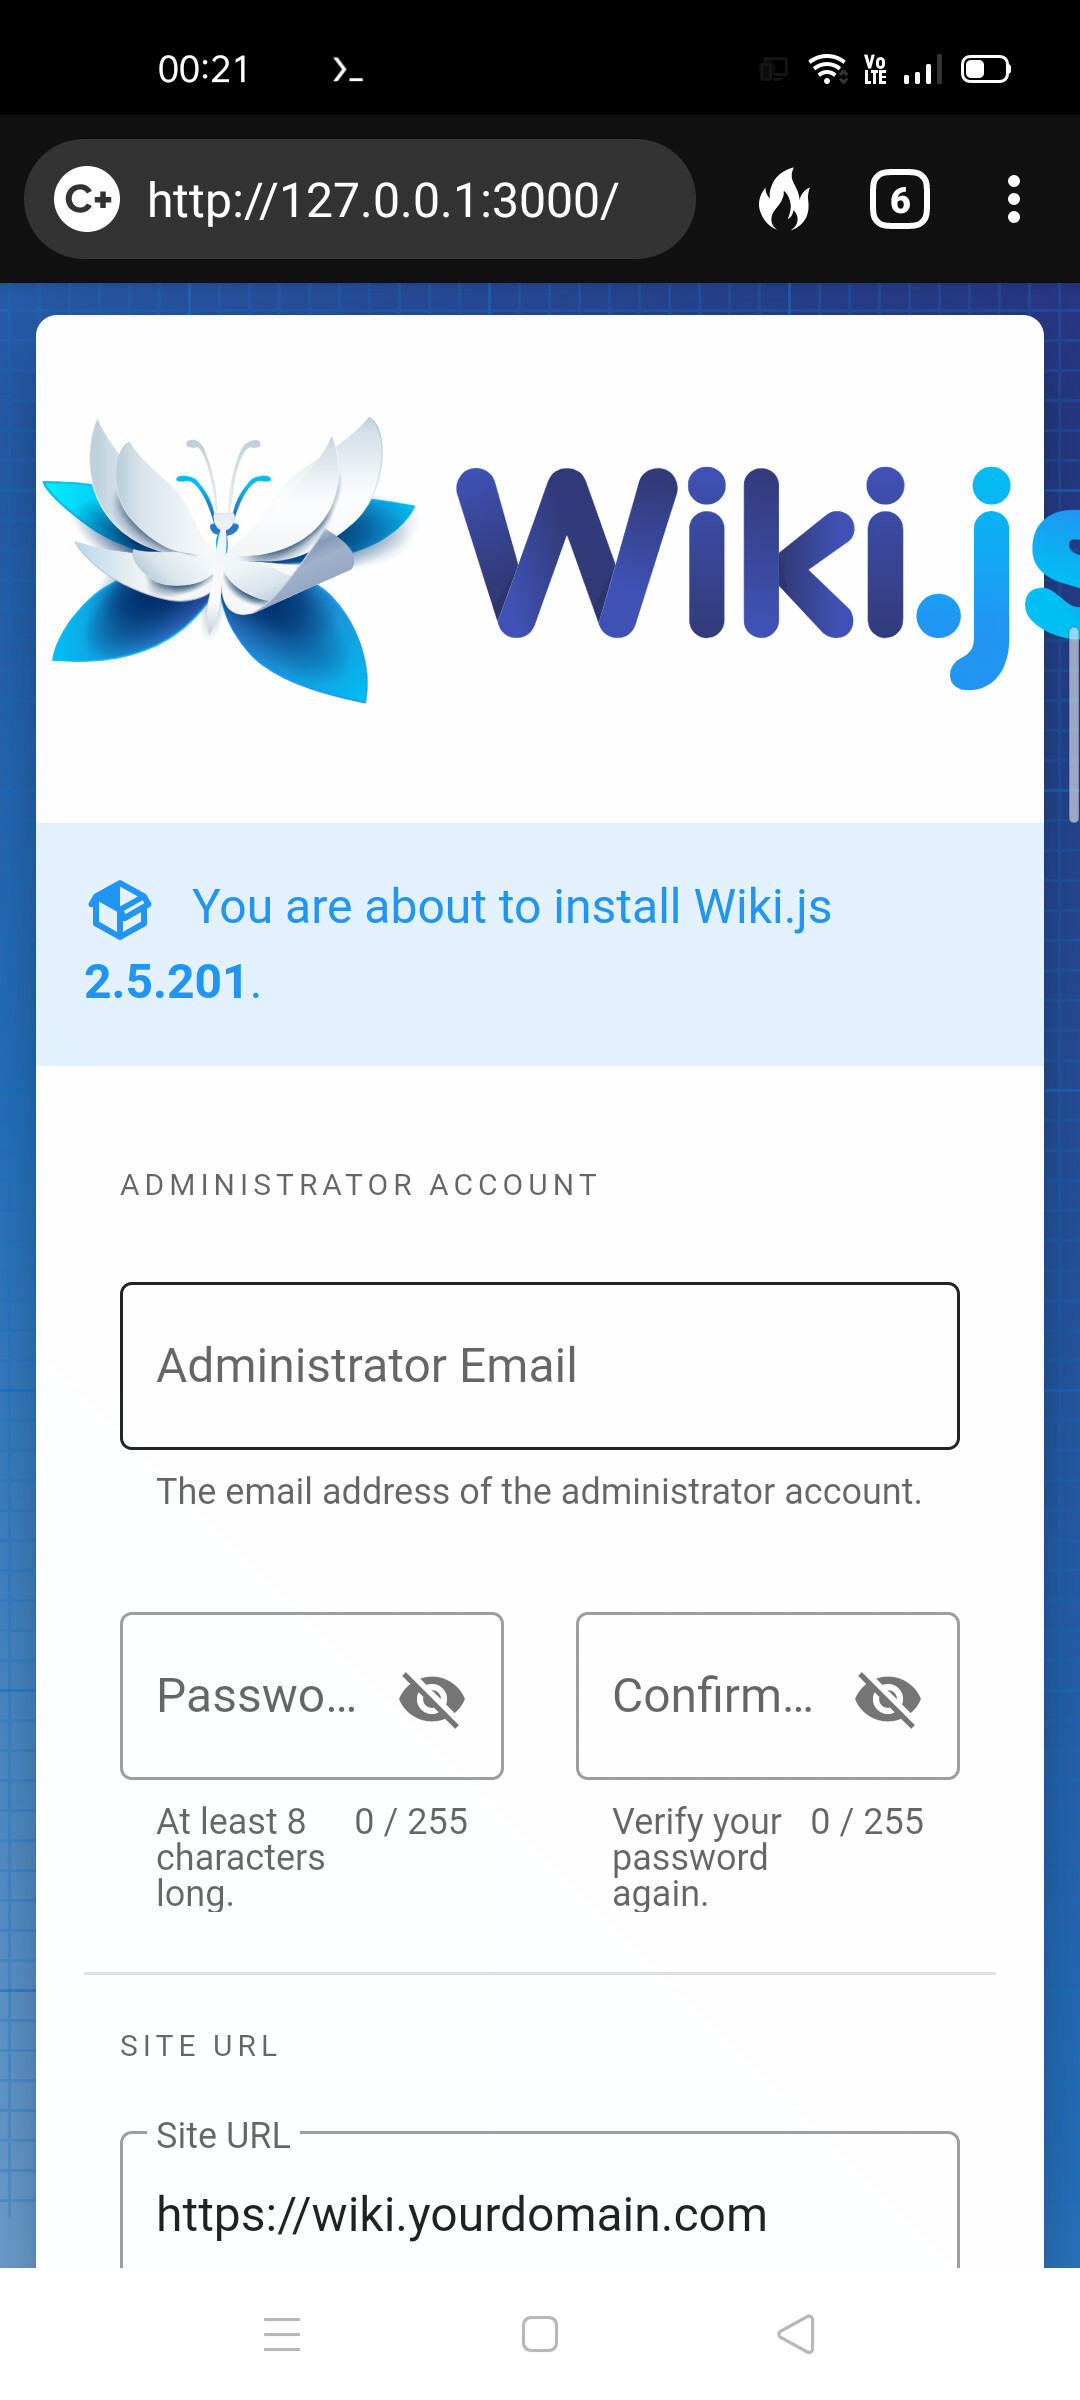
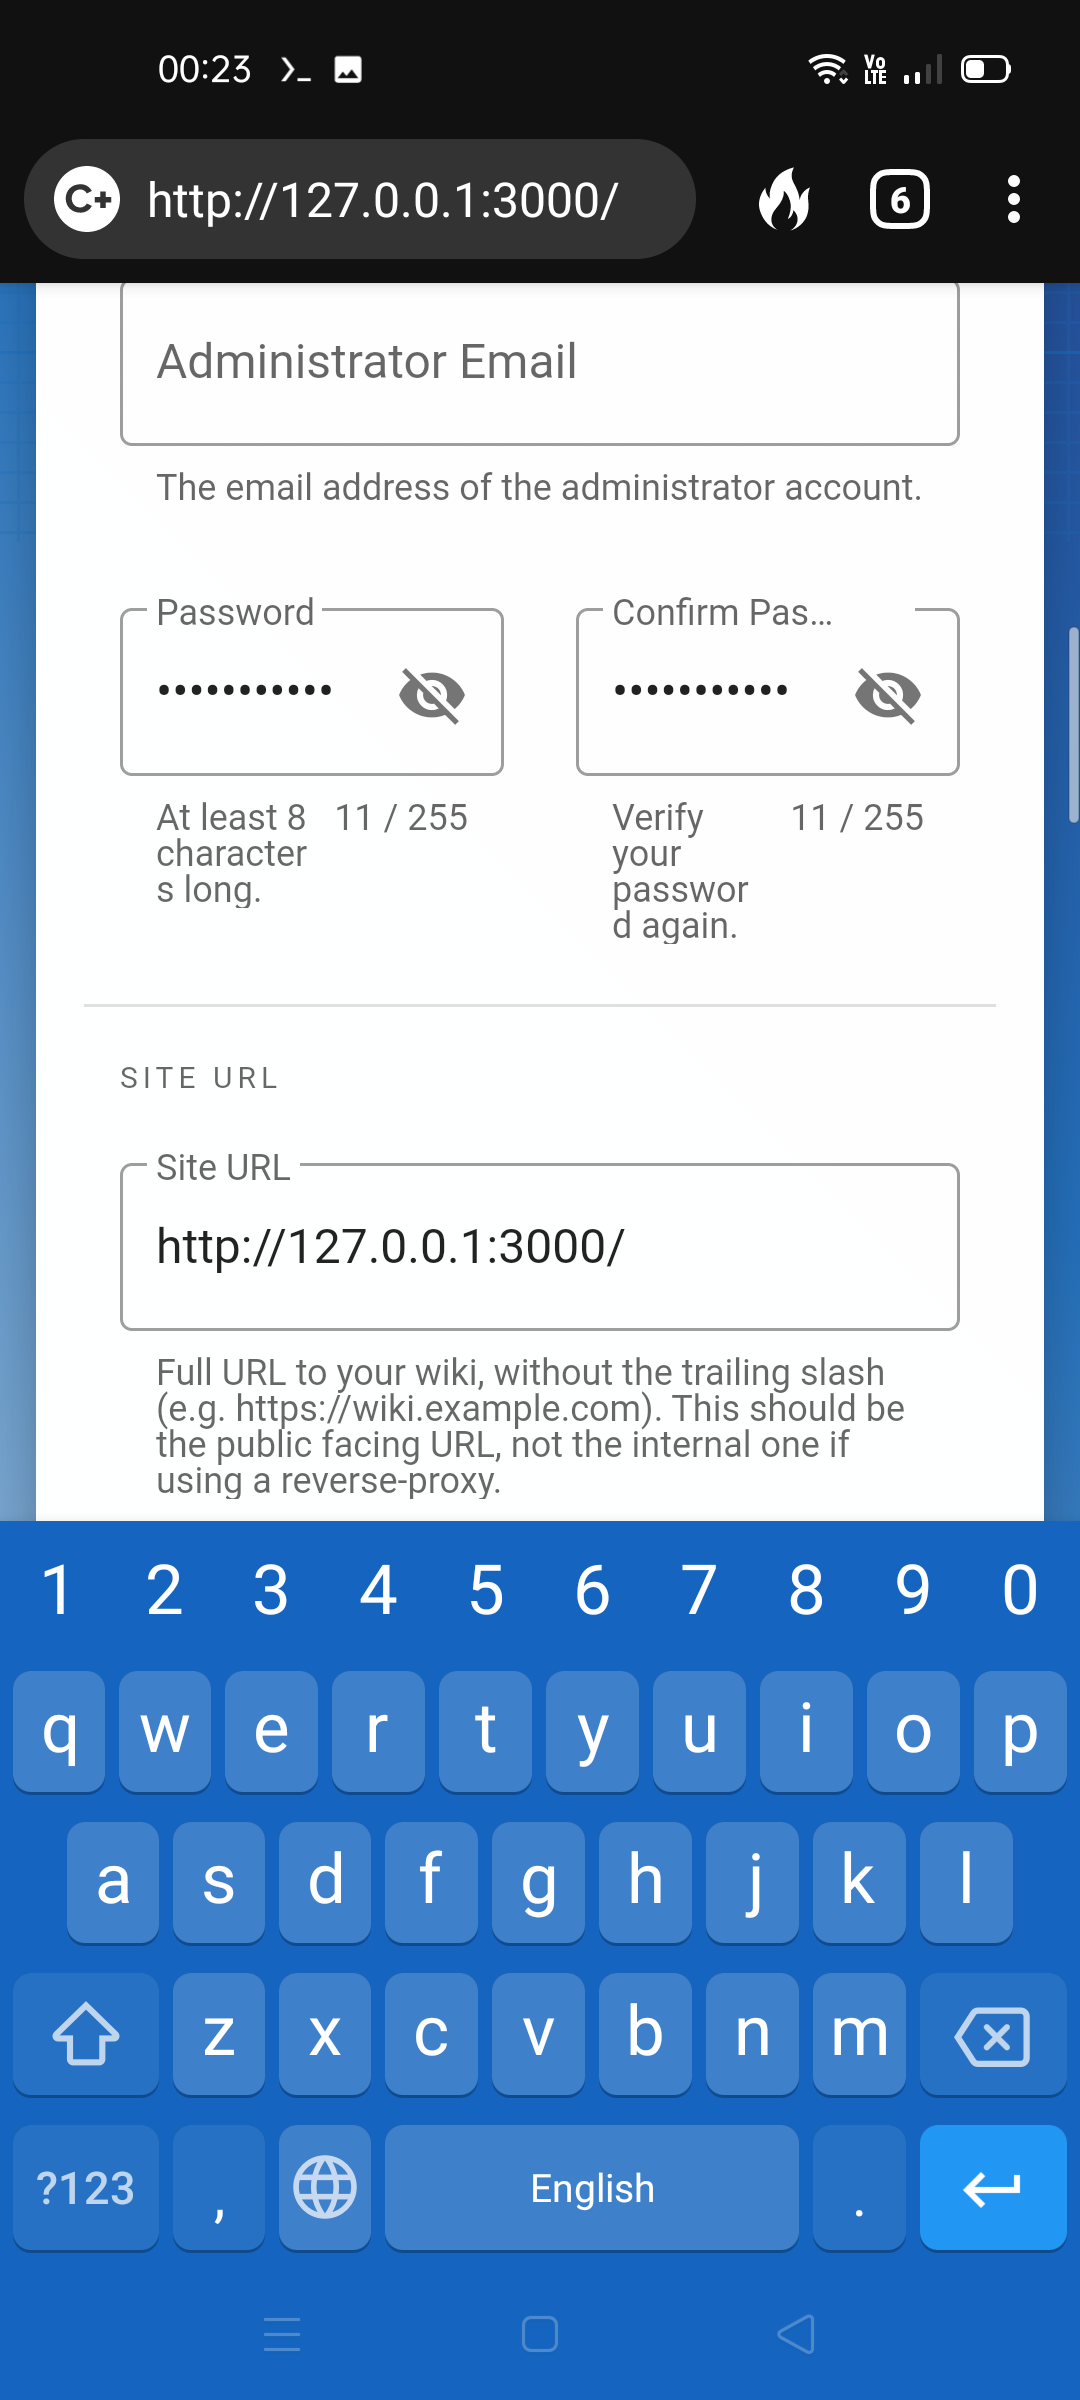
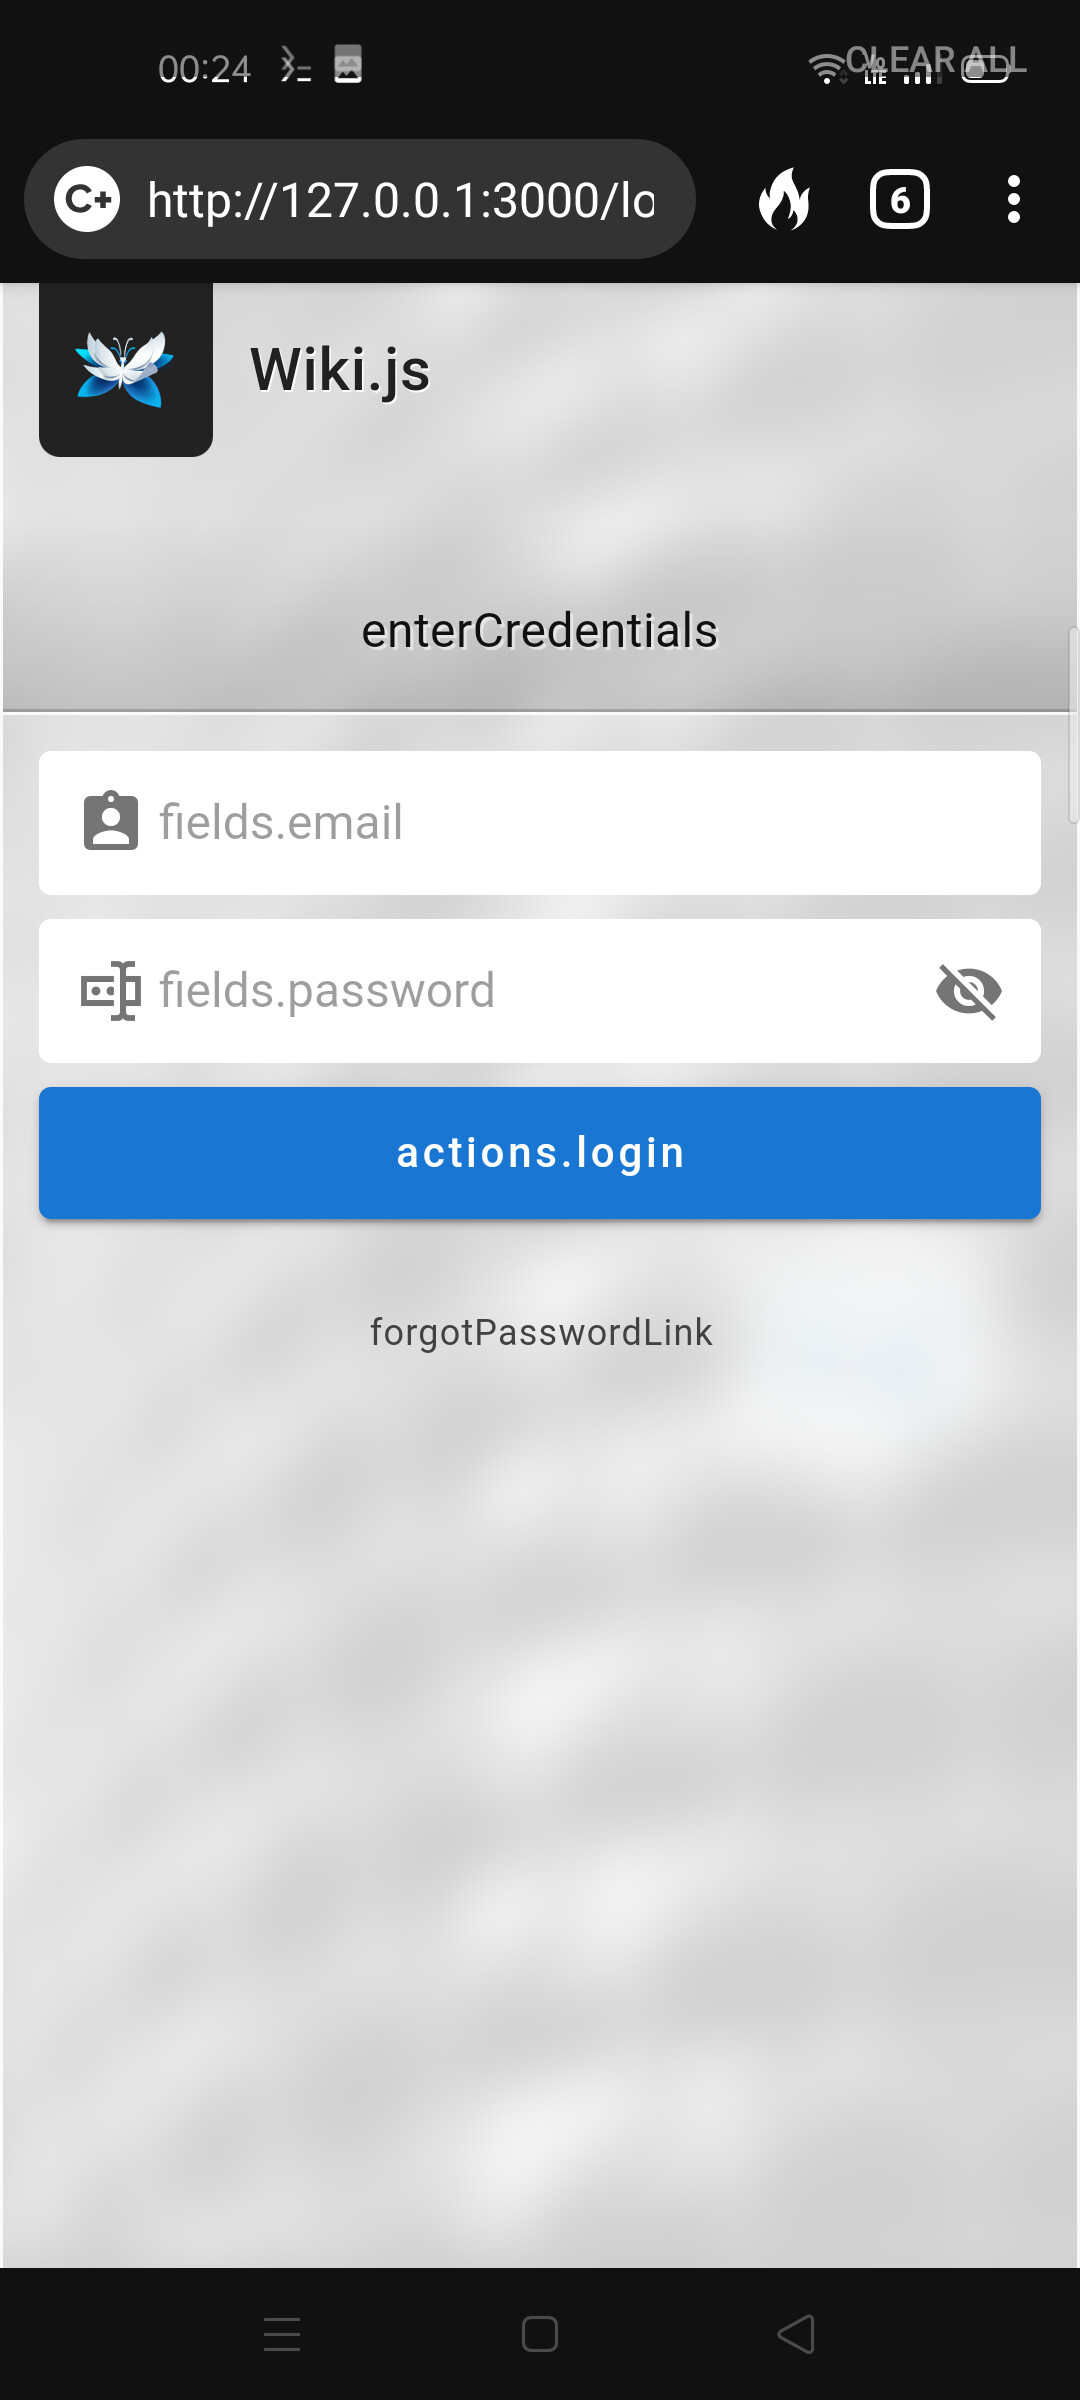
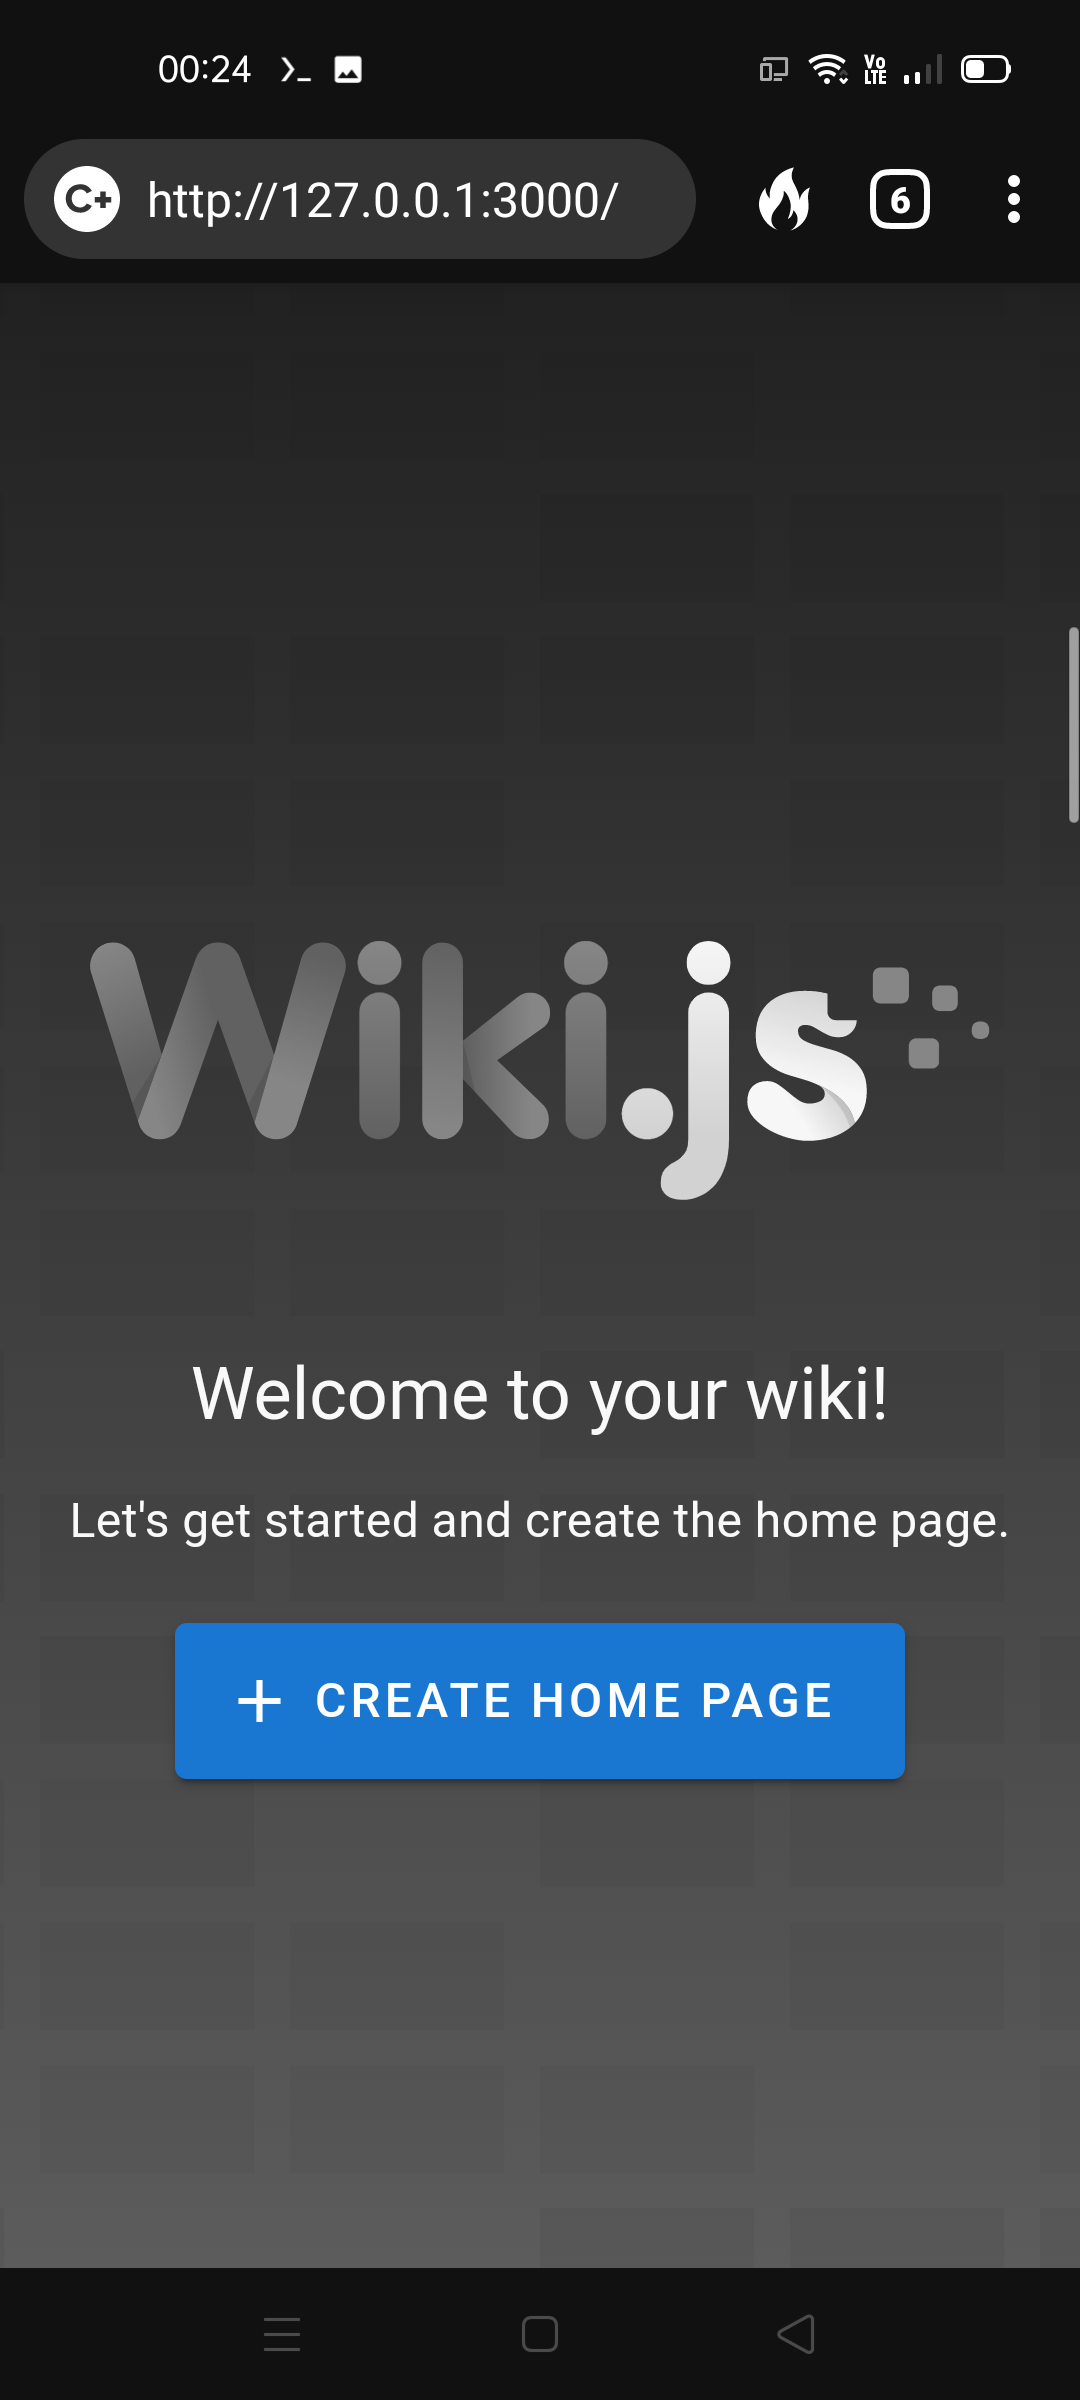
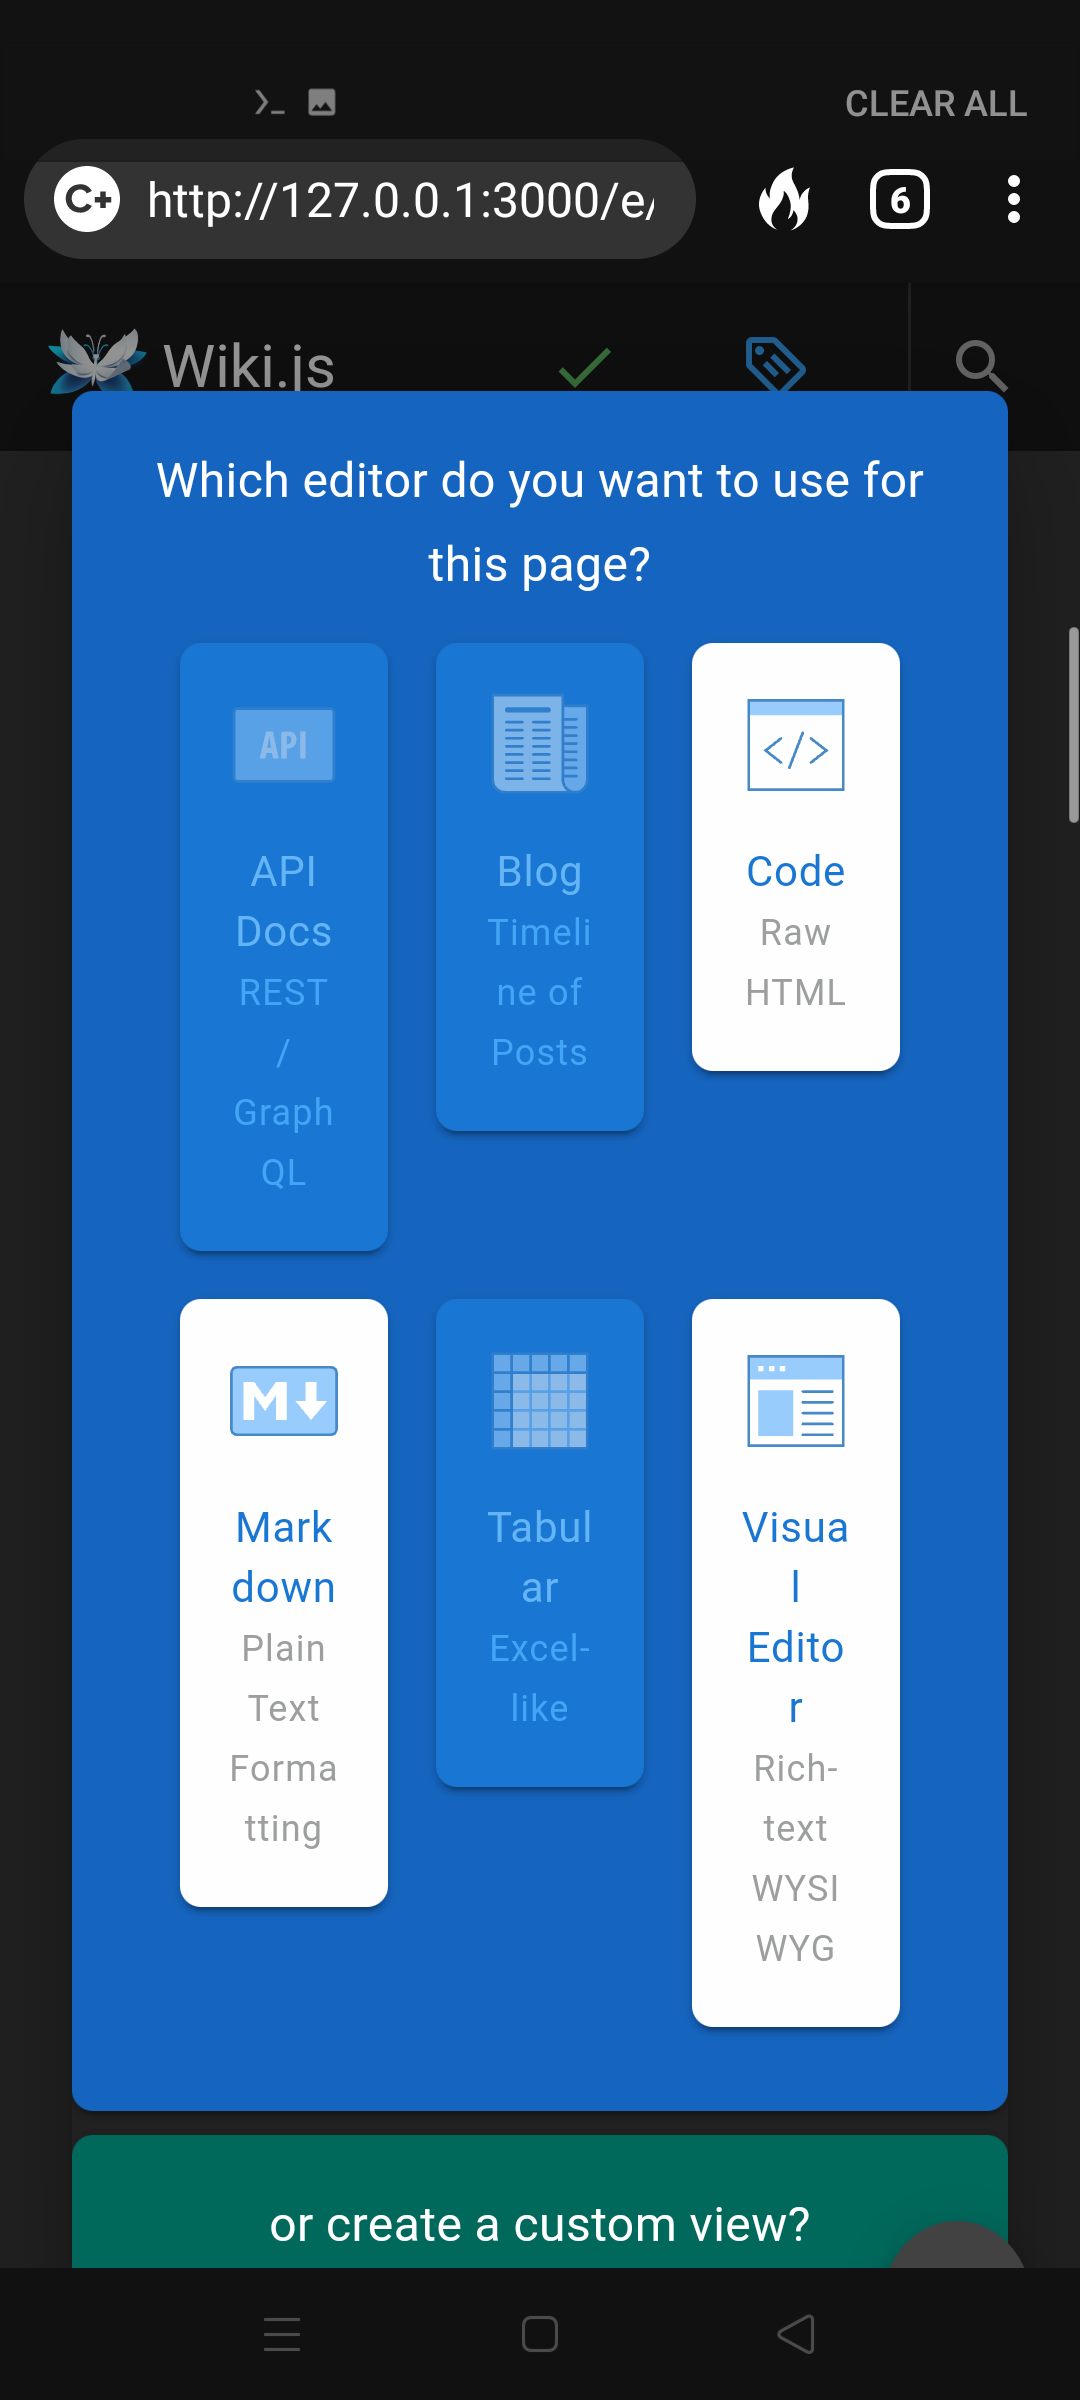
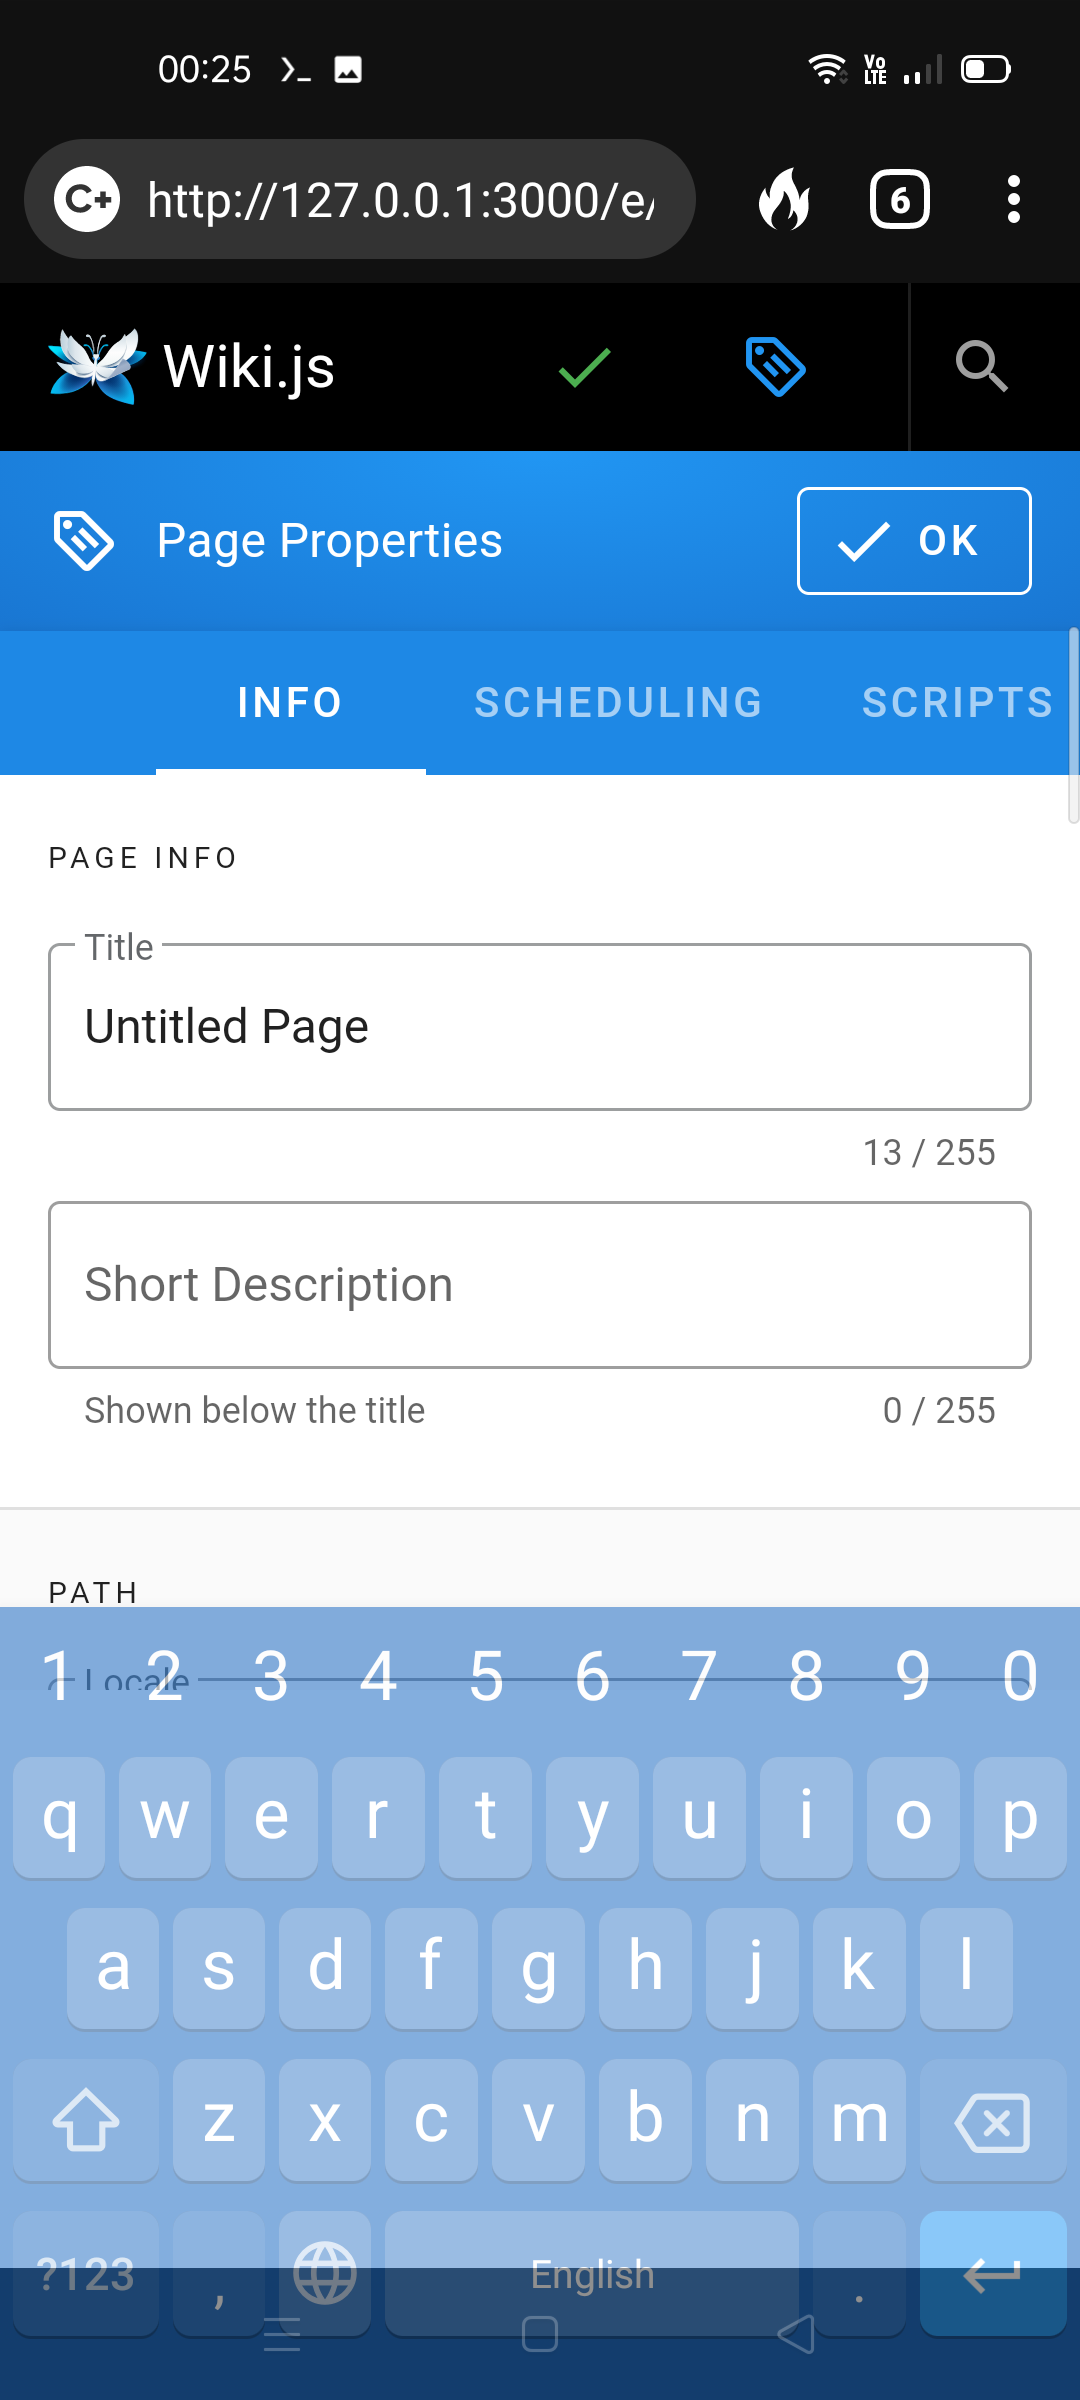
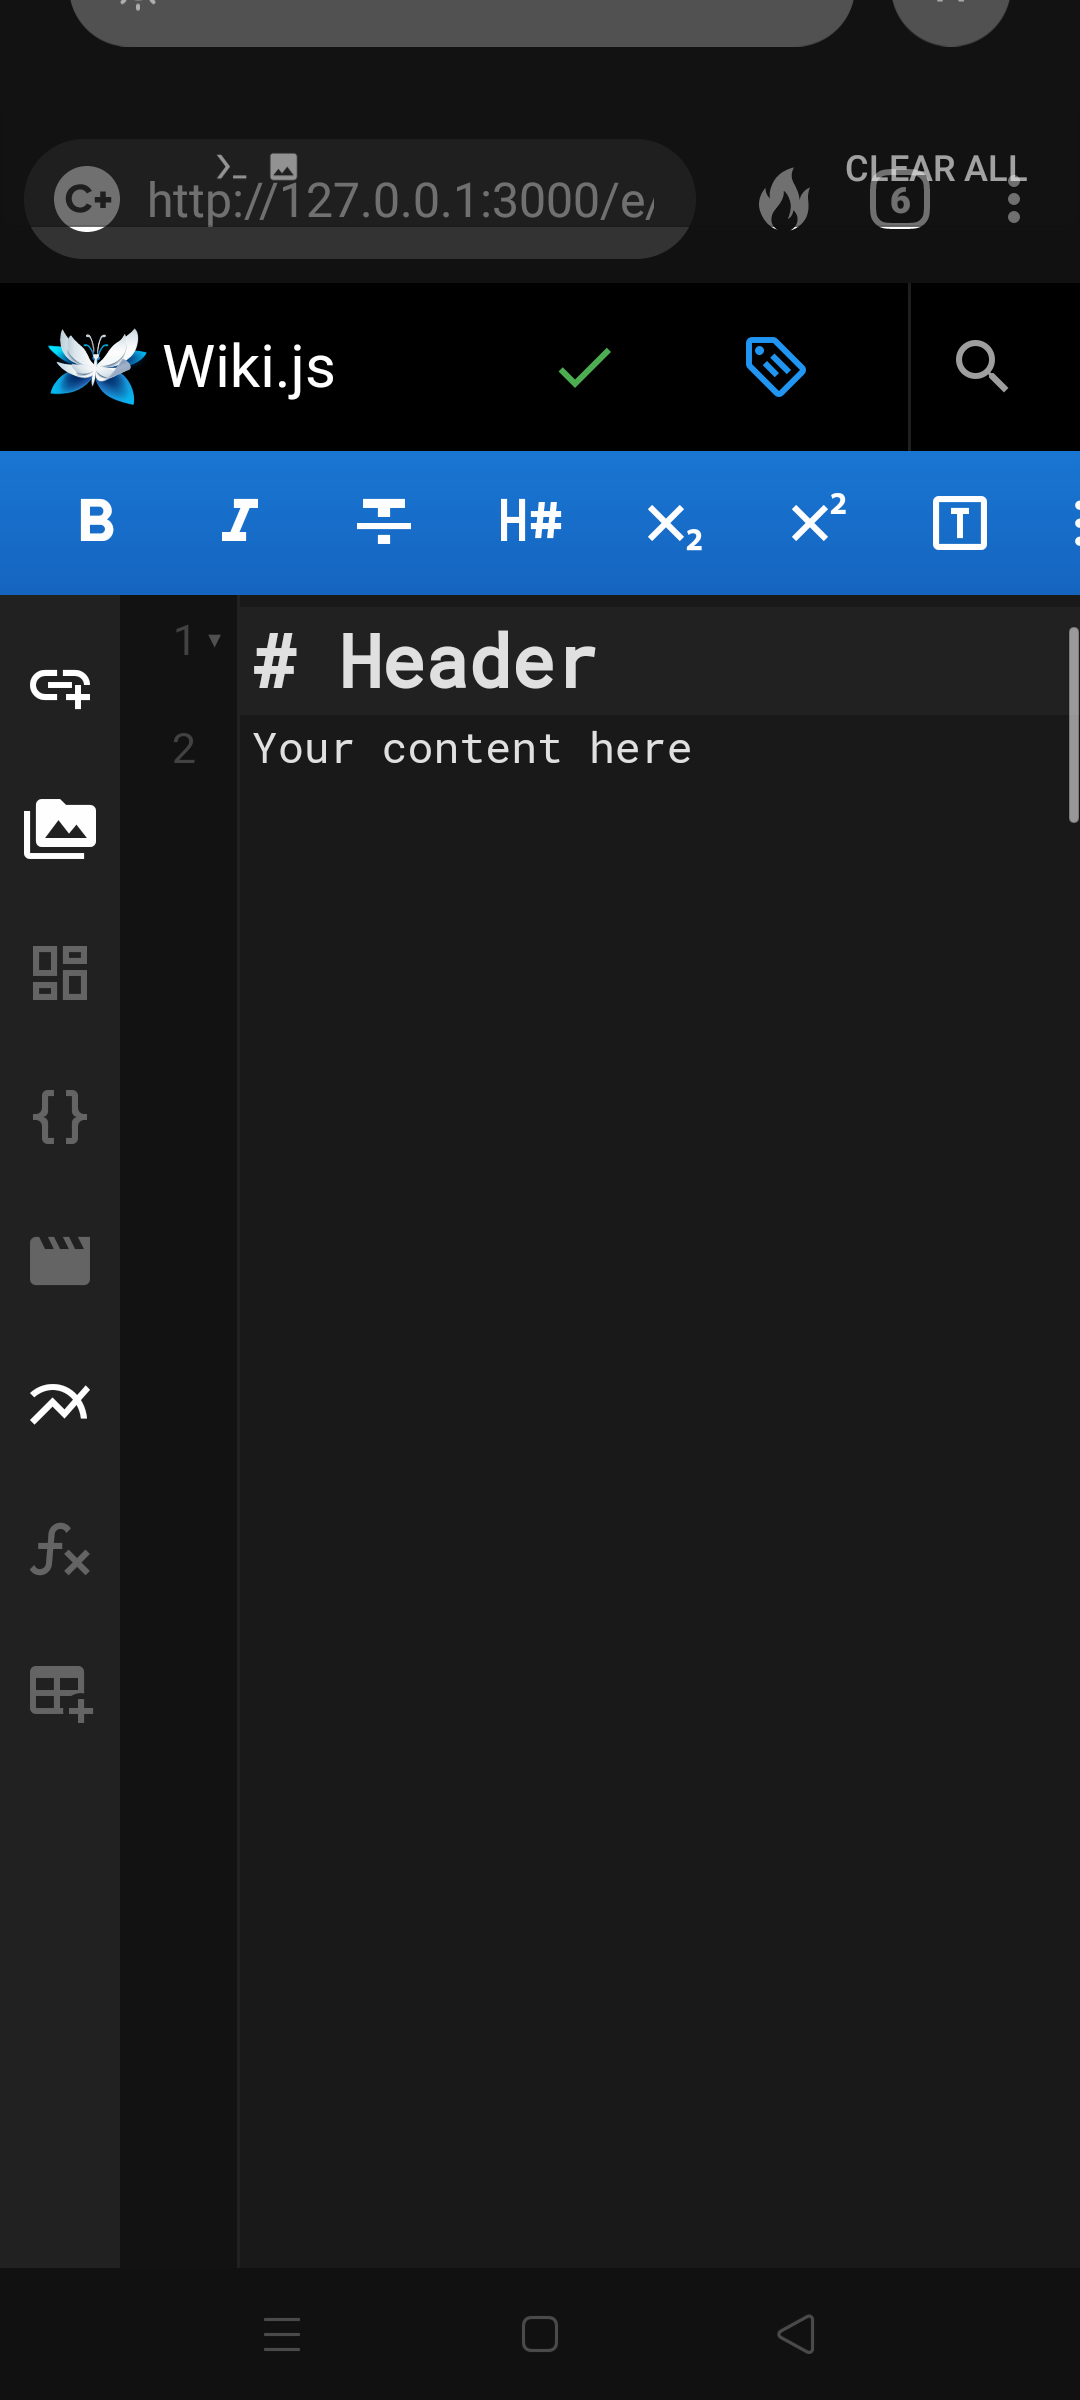
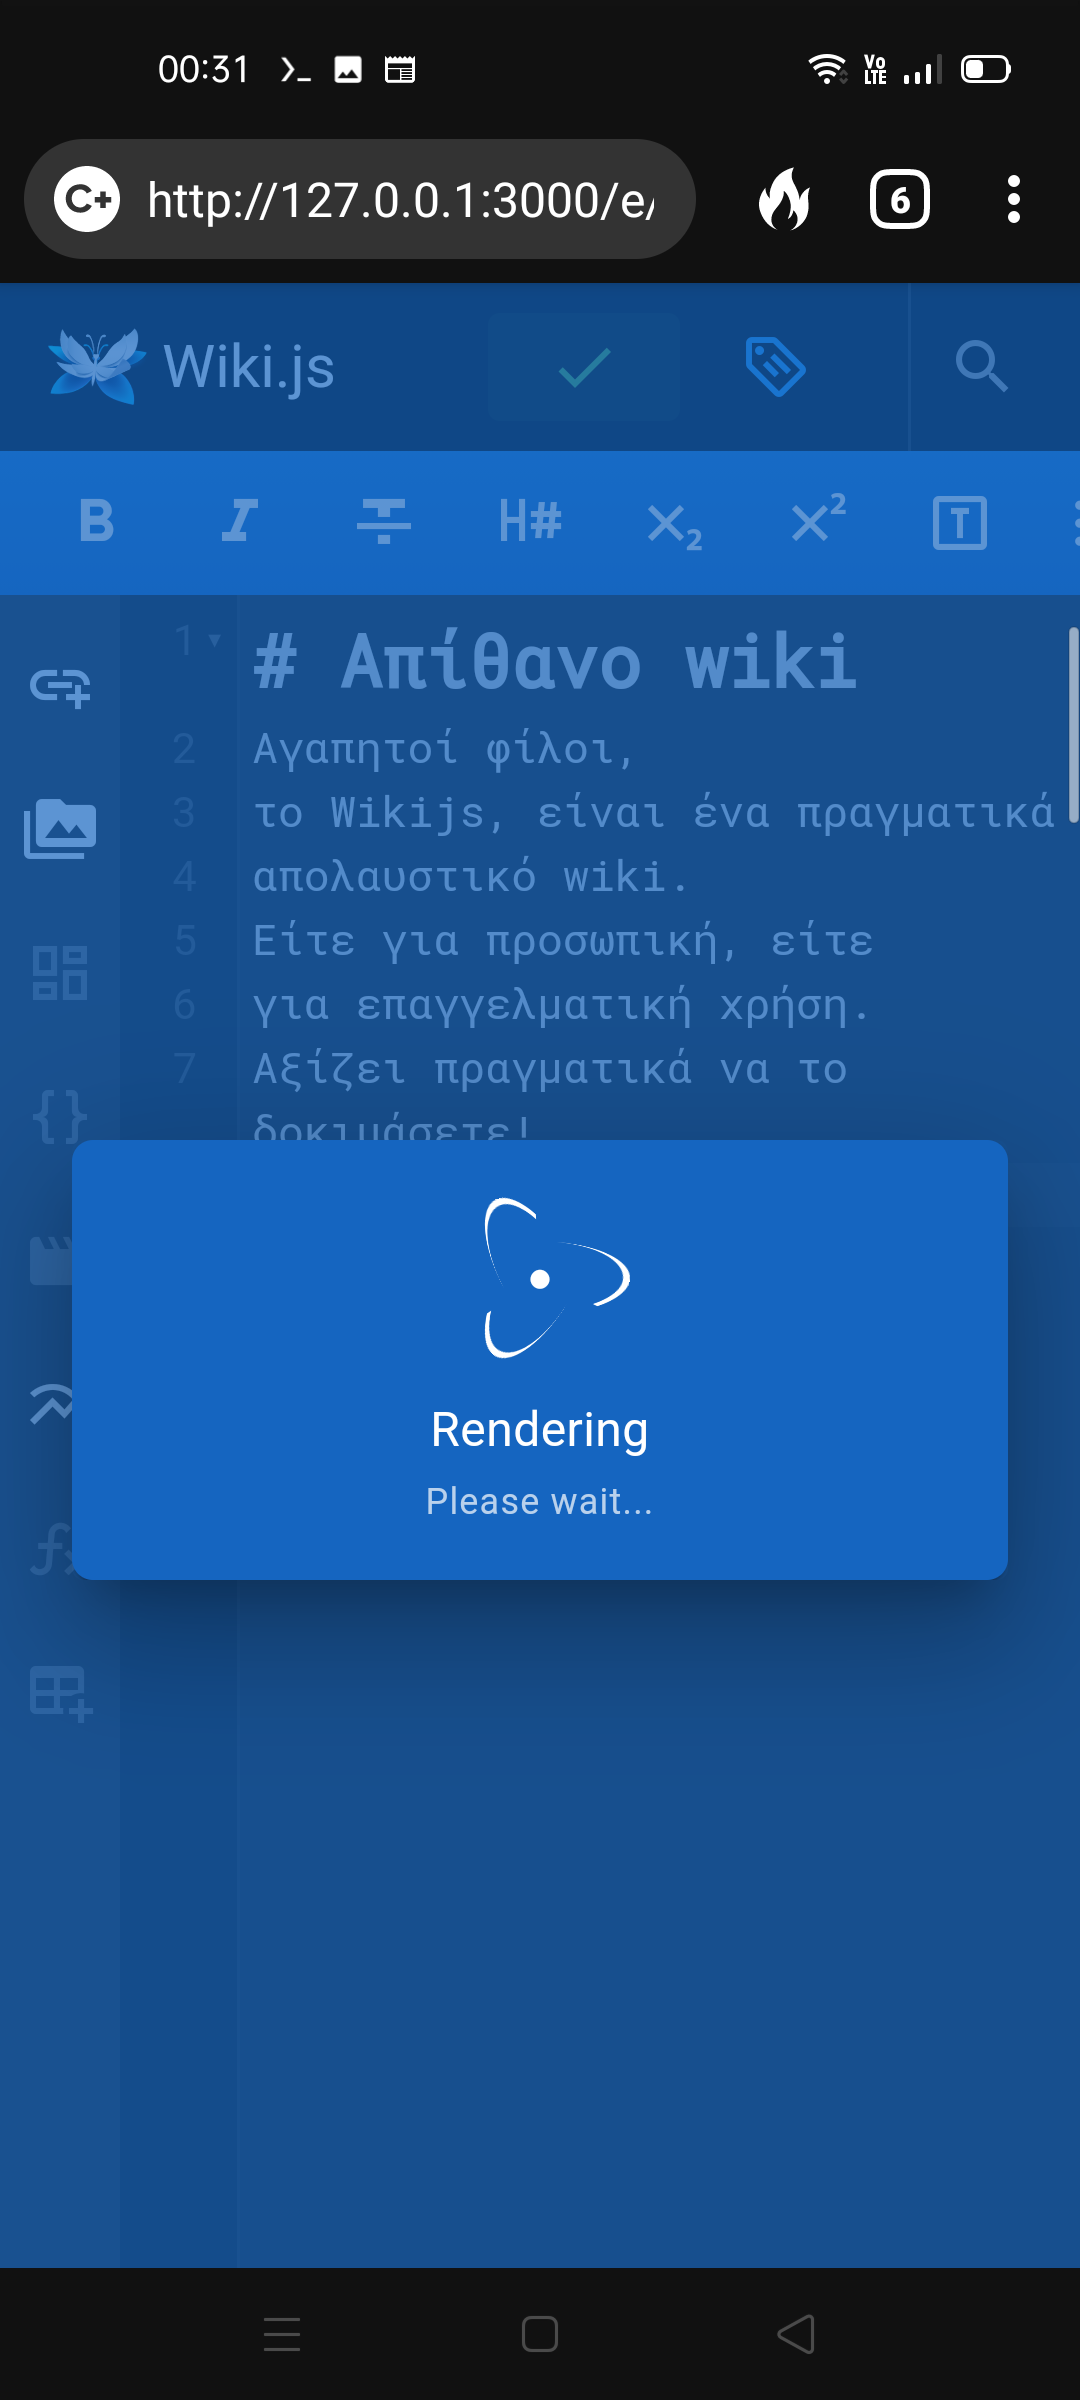
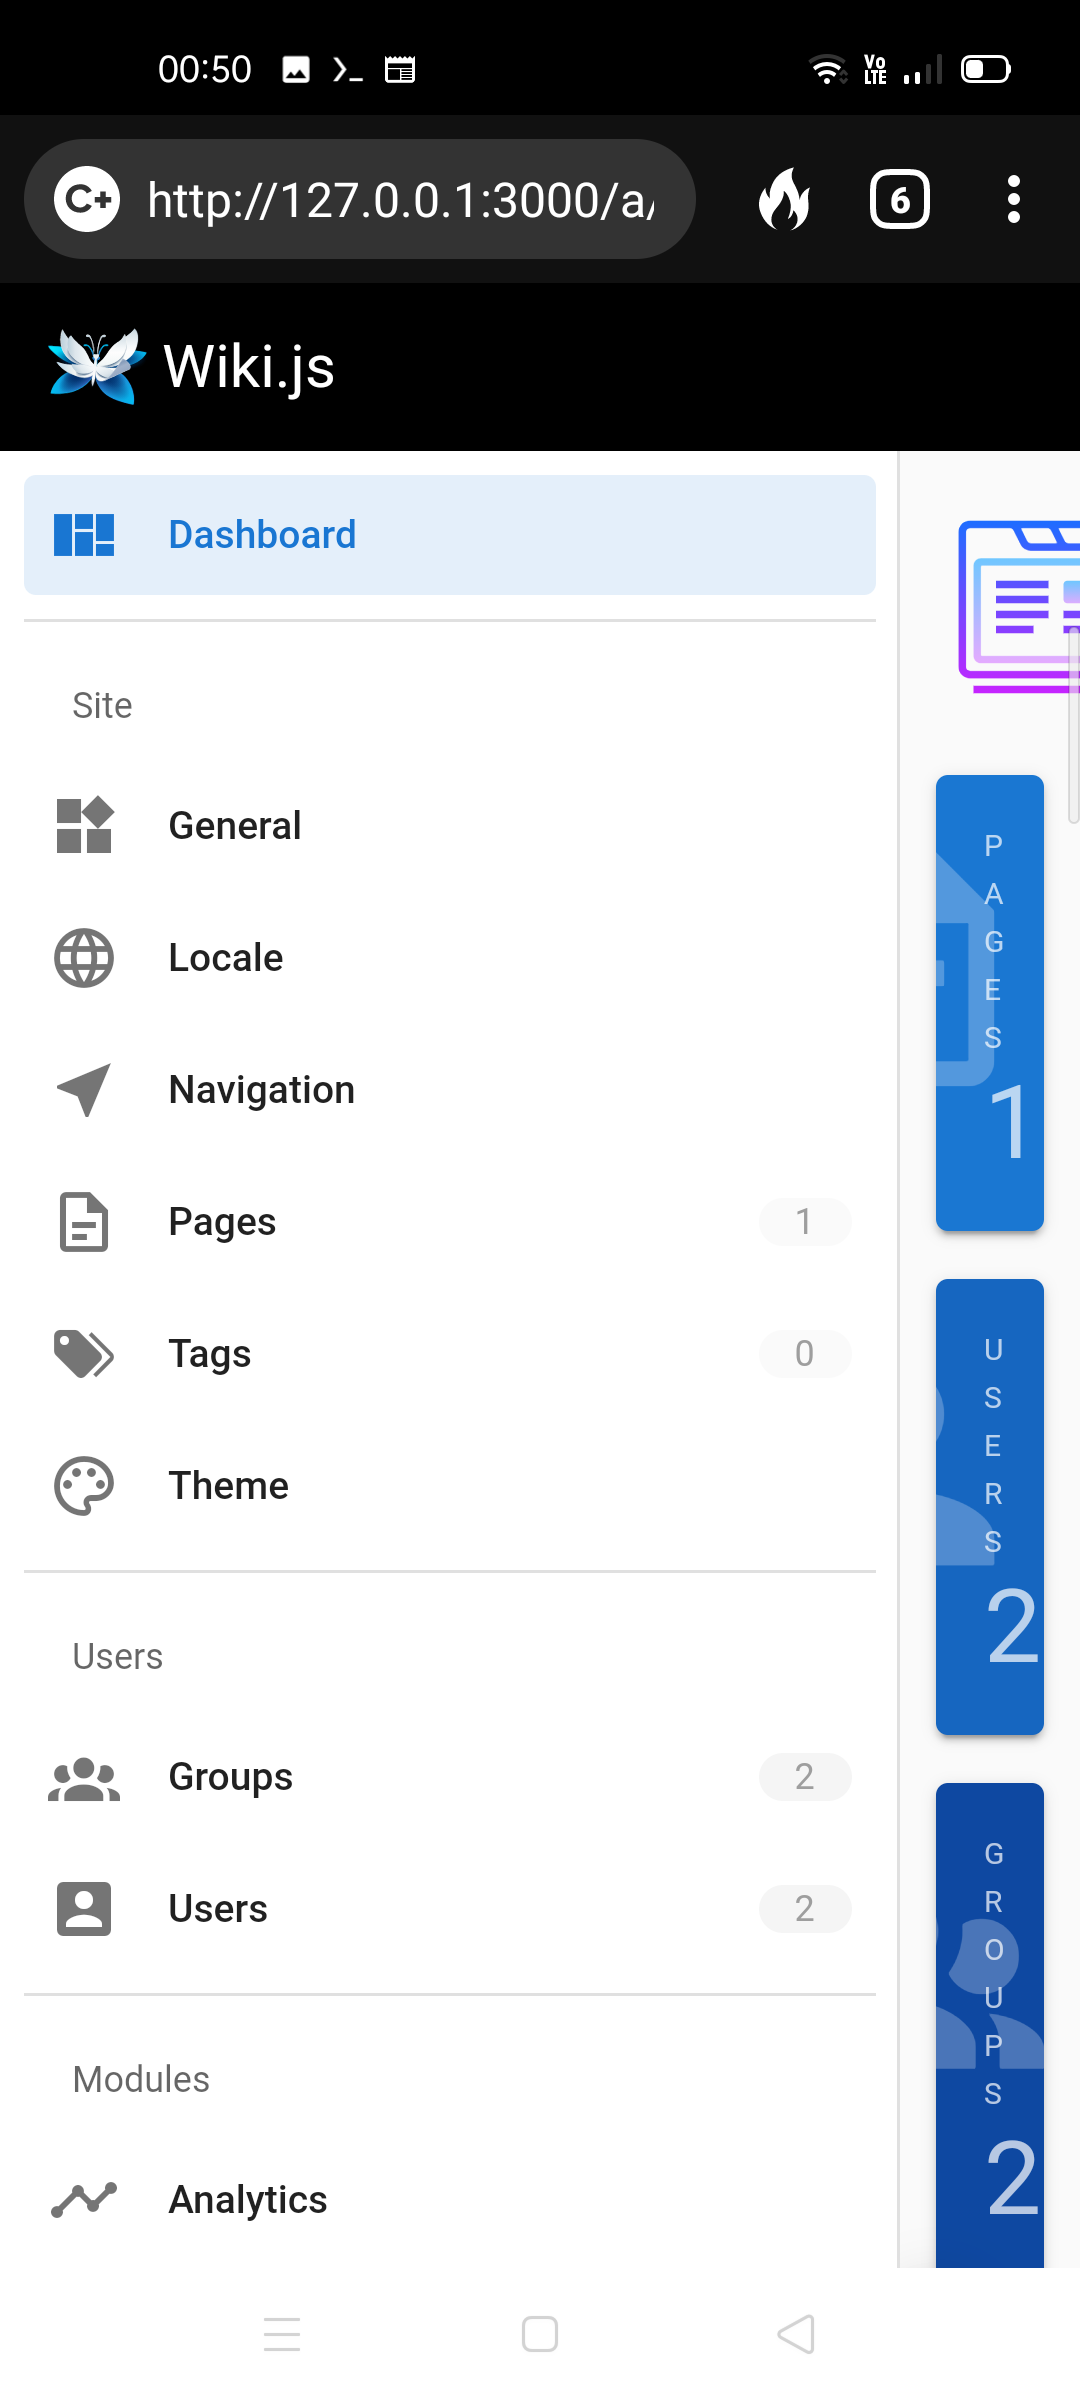
Ανοίγουμε τον φυλλομετρητή μας στη διεύθυνση http://127.0.0.1:3000 της συσκευής μας
την οποία συμπληρώνουμε και στο πεδίο Site URL
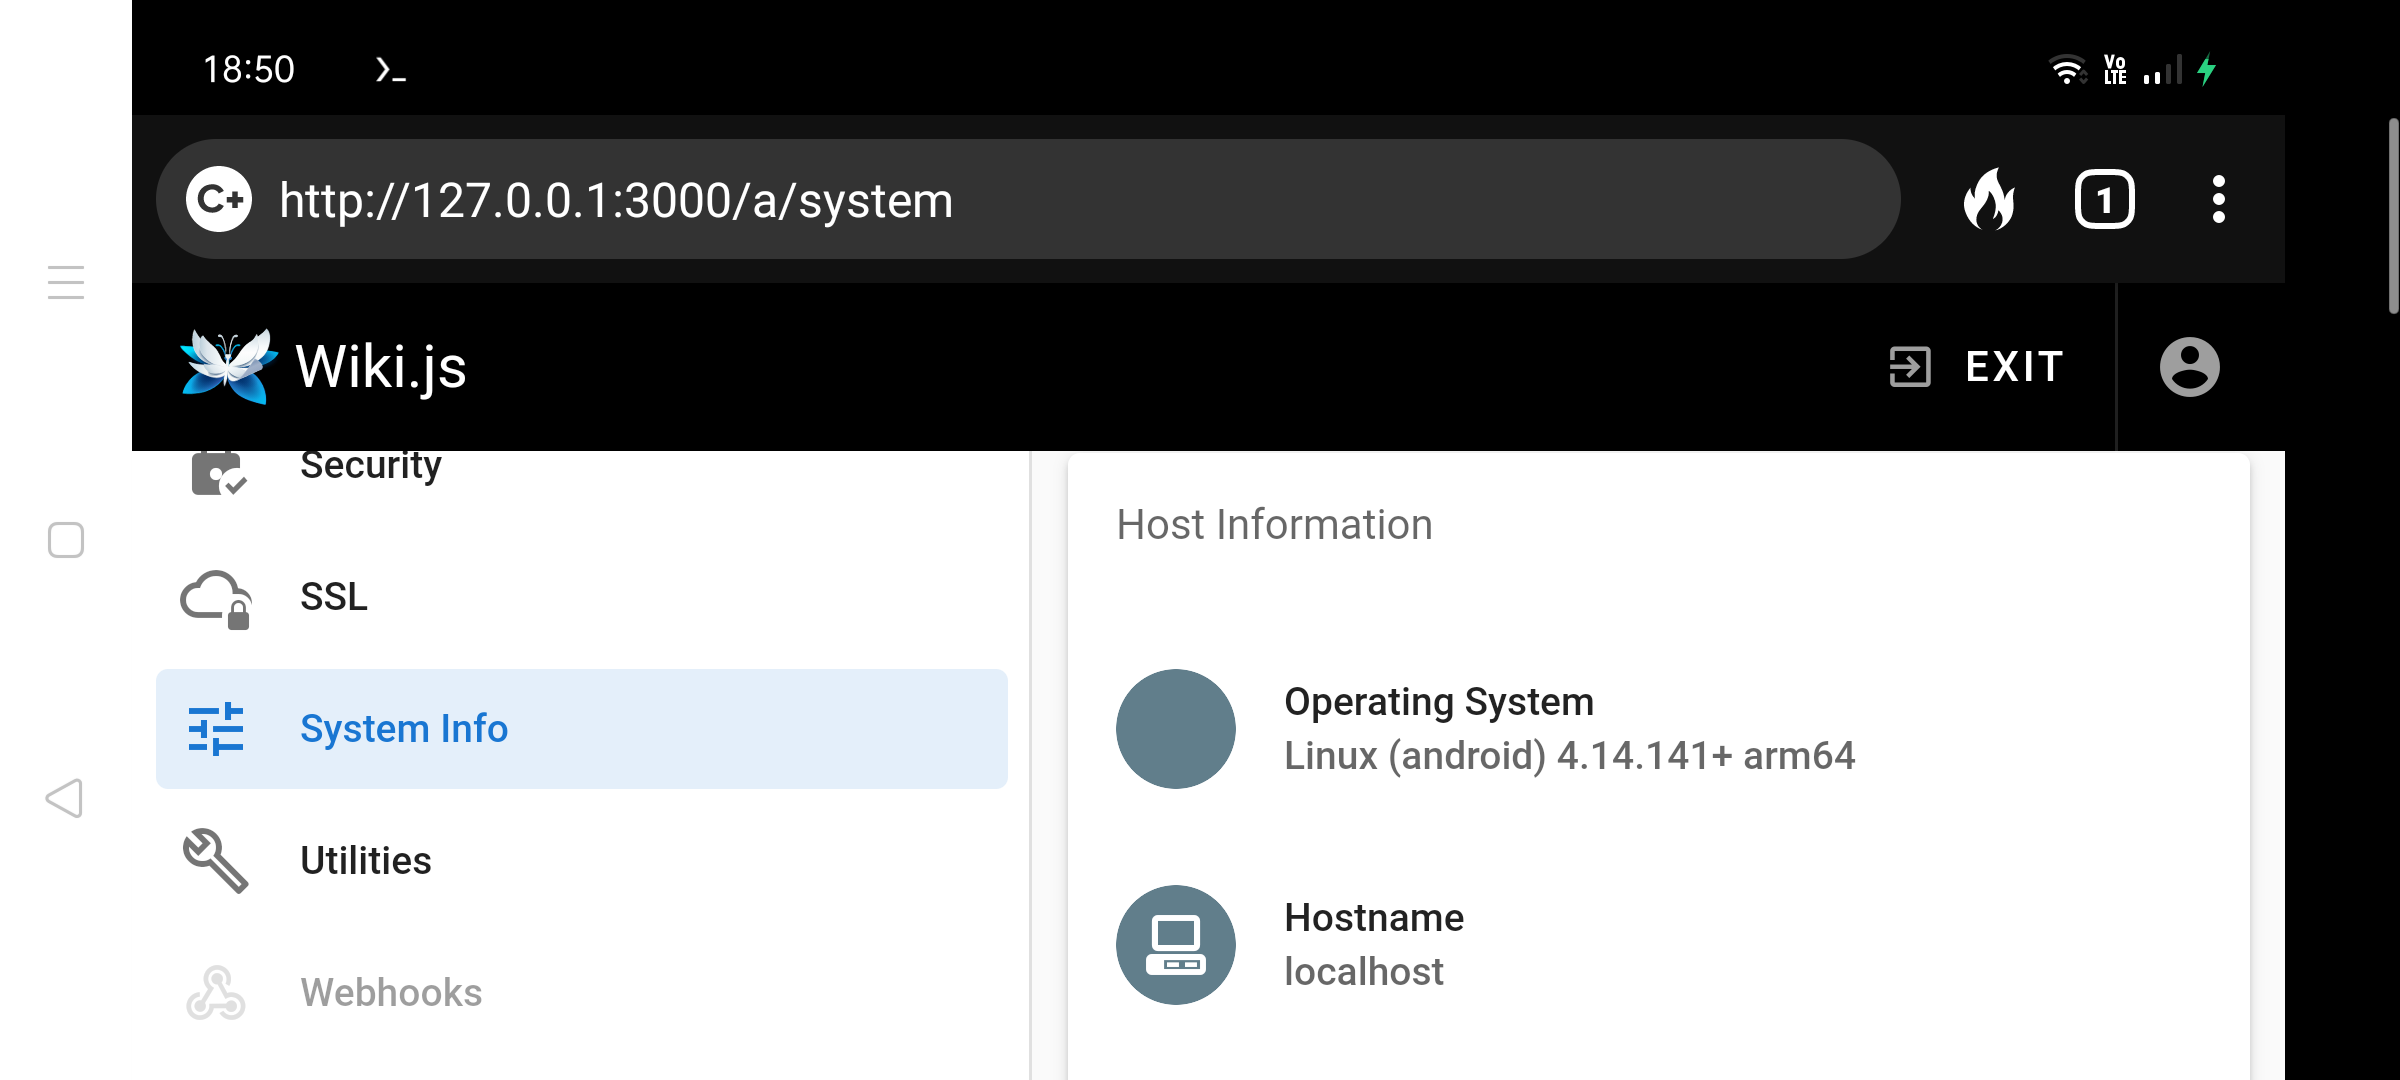
και ακολουθούμε τις οδηγίες όπως φαίνονται στις παρακάτω εικόνες.
Όπου 3000 είναι η θύρα(port) που καθορίσαμε στο αρχείο config.yml.
Προσωπικά την μετέτρεψα σε 3001, για να χρησιμοποιώ ταυτόχρονα και το Gitea.
Εικόνες:
Εικόνα 1
Εικόνα 2
Εικόνα 3
Εικόνα 4
Εικόνα 5
Εικόνα 6
Εικόνα 7
Εικόνα 8
Εικόνα 9
Εικόνα 10

Εικόνα 11

Εικόνα 12
Καλή επιτυχία!